Sunday, November 29, 2009

Putting it all Together


The primary problem to making the sewing machine work was getting a motor control connected and the barrier was a lack of the specialty plug that connects the speed control to the machine. That power source also powers the light.

The trick is that the power to the motor is modulated to vary the speed from zero to max, whereas the power to the light is constant at max.

So I whipped the plug receiver off and took a look.

Definitely not rocket science.

I made a simple plywood cover for the hole to re-use the existing screws that threaded into the machine case. Next I used two different colored wires to identify the motor from the light power, and wired the junction box appropriately using a specialty plug receptacle and plug with one lug at ninety degrees to normal. After color coding the plug end to wire color, and assuring the wrong plug cannot be inserted in to the wrong socket by putting a bit of glue in the slot, the junction box can only be connected one way without the willful assistance of a hammer.

If you do manage to plug it in backwards you get a foot control on the light and a full speed ahead motor. But no electrocution.

Making it go the old fashioned way.


I found this old (about 50 years old) Mercury Electric motor speed control. Not that it contains any mercury, the name of the company is Mercury Electric, and they made pretty good resistor based step style motor speed controls, and this one is the much coveted combo foot and knee control.

It was cheap because all the external wires were rotted off.

But when I took it apart the rest of it was fresh new looking and un-corroded. So I re-wired it my way, using recycled computer connection cables suited to the current.

It connects to the junction box which also has the line (recycled from a computer monitor) power cord.

The junction box is a new grey plastic affair from Home Depot with new cable connectors for a dust free connection. The stainless steel top is new as well.

Total cost about twenty bucks for all the hardware.

Thursday, November 12, 2009

Being old, retired, handy if not handsome, and curious, I go to my apartment building’s garbage area the day before pickup. Pickup is conveniently every Monday.The end of the month produces a better selection of discarded objects.

Last month I spotted an electric portable sewing machine. Thinking of the cornucopia of gears, levers, springs and an electric motor, I snagged it and brought it in outta the rain.
.
Probably not zinc or aluminum sez me to me as I listed to port slightly while carrying it. More like cast iron, but therefore a higher quality machine probably.

Believing that sewing machines normally last about forty thousand dresses or about one lifetime past the original purchaser’s, I had high hopes for salvage.

When cleaned it up and I hooked it up to some power all it would do was hum.

“Hmmmm,” sez me right back.

I whipped off the top and sprayed some WD40 on the gears.

It commenced to run like a top, and smell purdy too.

I tried giving it away but it came back practically the very next day. It seems the recipient's hubby did not think he could do the repairs.

It is quite modern looking, has a flip out carry handle, does a selection of fancy stitches, and is configured to sew sleeves easily because the sewing head is on a sort of narrow overhanging platform the dimension of a sleeve.

Fine Italian machinery, thought I, reading the maker’s mark - Vigorelli; like Ferrari or Lamborghini - but slower and quieter. A nice name implying a certain vigor to the activity of sewing haute couture - Milan comes to mind.

But it was missing the controller foot pedal. Yes I looked but - was not gonna open a buncha garbage bags in the bins. Ugh.

Generic controller replacements are listed on the web at about 25 bucks and up.

No needle, no thread, no bobbin, no big deal.

So I looked them up on the web, thinking - refurb, and use it.

Better karma for me.

Watch this space for the completed project. I am still gathering parts.

Tuesday, October 6, 2009

Miter Cuts for Small Moldings


Miter Cuts

When you want to make a precise cut at forty-five degrees, it helps to have a miter box. I needed one for my recent project. I did not want to spend much, nor do I have house room for a dedicated power tool. One like the twelve inch sliding compound miter saw I used to use would take up too much space.

So after a bit of a rummage in my parts bin, I came up with  what you see in the photo. It is a leg section from a maple bed I mounted on a flat board. First I mounted it along the edge, and tried a few cuts. Then I changed my mind. The guide is now in the middle of the supporting board.

I designed it so it was a convenient length for my workbench to grab. The top has two grooves cut in it. They help place the clamp for the pieces to be cut. You can see the small traditional hand-screw design clamp in the background of the top photo.

A clamp makes for more precision. The molding or frame to be cut cannot move when being cut. You may also notice the complete lack of any groove for the saw blade. That is because my design calls for the work to be held by a clamp, and my free hand is then able to press the saw lightly against the wall of the angle guide. This in turn avoids the slop and angle error when the saw rattles around in the typical narrow guide slot.

I cut the angle by hand with a Japanese razor saw. The second photo shows the measuring process. I trued it up with a low angle Stanley plane, using a machinist’s 45 degree rule to gauge the angle. When there was no daylight between the steel rule and the wooden guide, the angle was close enough for small work. I used an antique square to make sure the cut was at right angles to the board as well.  Possibly close enough for government work.

With the guide in the middle of the board, you can place the item to be cut on the front or the rear of the guide, depending on which end is to be cut off.

Possibly not precise enough for large pieces, but for the small trim moldings I cut, it is cheap and effective.

Friday, October 2, 2009

Clamp the glue joint


When you glue things together, it is usually necessary to clamp them in some way, but the question is how to clamp, and what kinds of clamps to use.

I use many types, and as the top photo illustrates, you seldom can use too many clamps. And I also modify some of mine to allow me to apply them swiftly without marring the work.

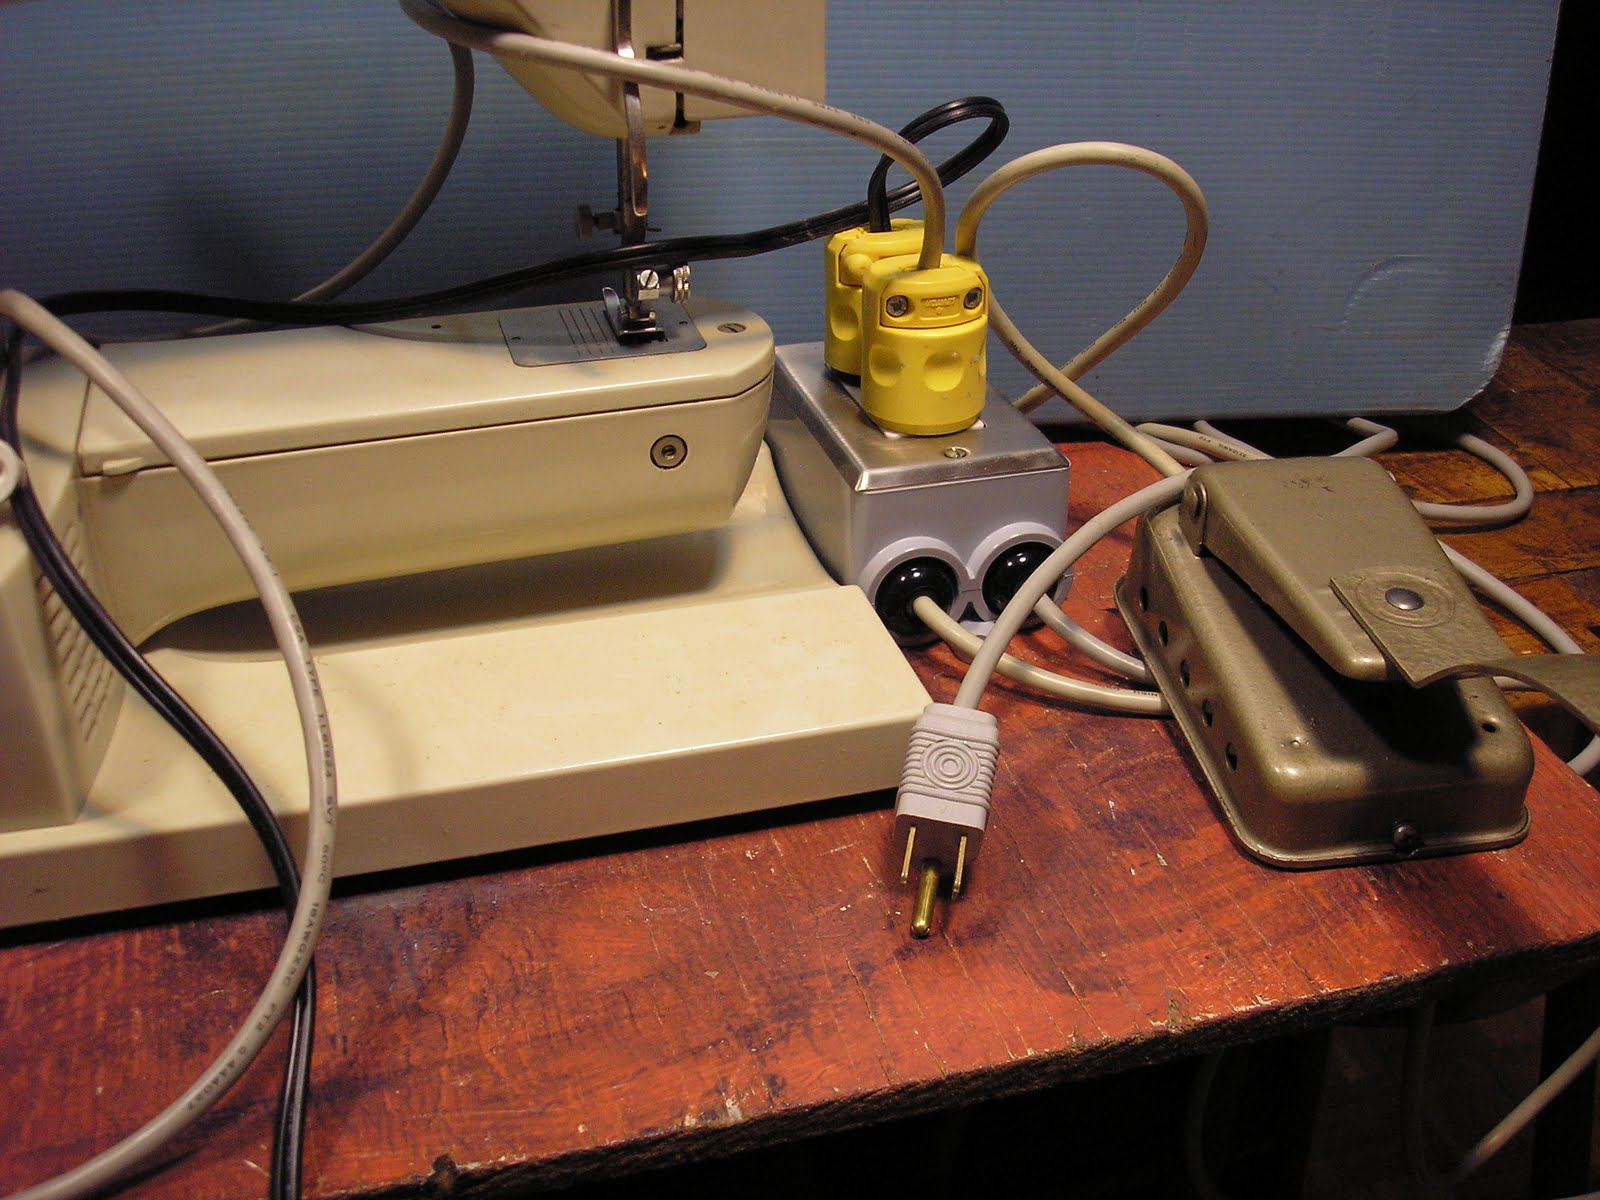
See the above lower photograph where I have glued some recycled leather onto the face parts of a clamp.

To put leather facings on, glue first, clamp the thing closed and wait for the glue to set, then cut the leather to size.

What kind of is best glue for this application?

In the past I have used white glue, contact cement, a heavy duty glue named Lepage Extreme Repair all temperature, and epoxy.

The worst was contact cement. It squirms under pressure and the leather can slip off the clamp.

My striking mass now has its leather glued on with regular 24 hour epoxy (which is stronger than five minute epoxy and gives more setup time).

The Extreme Repair gunk advertised to glue leather to just about anything failed in use on the striking mass. It is not shock resistant. If the epoxy fails, next I will try a glue called Gorilla Glue which is in the class of polyurethane glues that is toughest, and does not come off except by abrasion. But it foams up when applied and there are handling issues I want to avoid if I can get by with a lesser glue.

Learning is a process, and it cannot be done without the occasional failure. You can't fix it if it ain't broke.

When gluing things together remember these simple rules and apply the relevant ones. It is always a good idea to read the manufacturer’s instructions. They want you to succeed and buy more of their product, so they go to the trouble and expense of printing directions on how to get the best results. (Often enough they do the worst job in this area, because the space on a product label is very small.)

The most important things to remember are that glue is chemistry. Keep the reactions predictable by doing it on clean joints properly prepared, and clamped according to need.

Here is a bunch of experience (some bitter) driven recommendations for the glue process:

• Apply the clamps within the ‘open time’ allowed by the glue manufacturer.
• Use clamps to draw the parts together where possible, not a hammer.
• Use enough clamps.
• Some clamps are used merely to force the pieces into alignment, not to apply pressure to the joint.
• Do not squeeze all the glue out of the joint with too much pressure.
• Stain before gluing. (I will tell you why later in a different post.)
• Clean up while the glue is wet if possible.
• It is possible to temporarily leave a glueing horn while making the part, attach or glue bits onto the work and then apply the clamps to these bits for the final assembly, then cut the spurs or other things off later.
• Do not panic.
• If things go pear shaped: stop, disassemble, clean off the glue, and start over. Once pressure is applied, the glue starts to transform and is useless to re clamp. The joint will be weak.
• Clamping pressure can distort the work, so plenty of clamps distributed along the joint, all pressing evenly, is best practice.
• You can tape sacrificial bits to the work to protect it, or to keep things in place before the clamping.
• If you wax all the other areas, the glue will be easy to clean off when it hardens.
• When repairing old broken joints, first clean off the old glue.
• Glue is not a gap filler.
• Read the label for drying times and observe them.
• If the glue label says ‘avoid freezing’ and the glue freezes - toss it out.
• Apply glue with anything but your fingers or a greasy rag.
• Properly applied, glue is stronger than the wood it is holding together.
• Do not trust to luck when applying the glue.  I spread it evenly all over the surface to be glued. I use a stick, and get them from Second Cup disguised as coffee stir sticks. (I drink it black) so I figure I am entitled to one per cup. A thin even coating is all you need.  After using the stick I merely break off the end and use it down to a stub. It is best to wet both sides of the joint completely with the glue.
• The correct amount of pressure has arrived when you can see a small gush of glue squeezed from all along the joint. Good Gush is what we called it in my shop.
• If you are gluing a porous wood, try coating it with glue and not assembling it but letting a thin coat dry on the surface after scrubbing it in. THEN sand smooth and glue it later. This will prevent the porosity of the wood from inhaling most of the glue and starving the joint.
• Use the right glue for the job, the materials, and the intended use and working environment.

TRY IT ALL DRY, BEFORE APPLYING THE GLUE.

This last rule is the most important.
Make sure the fit is proper, your clamps are able to grab where they should, and the clamping pressures will force the items into perfect alignment.

Email me if you have a specific question you want covered.

Wednesday, September 23, 2009

First Things First


This blog is all about working in a small apartment, mostly with hand tools.

My workshop occupies fifteen square feet of floor space in my apartment. It does not fold up and go away. It takes up a wall to hold a whack of tools, and includes a six foot long workbench I made about thirty years ago. If I felt like hiding it I could get a couple of room divider screens to hide it away. But I don't care to do that, it looks fine to me, and any visitors can suck rocks if they don't like to see it.

The workbench is more or less bullet proof. It is solid maple, weighs more than I do, but under three hundred pounds. You can see it in the picture to the right holding the work in one of its multitude of ways. Click on the picture for a bigger view.

Do I know what I am talking about?

Sort of.

I am self taught from magazines like Fine Woodworking, and even sold that magazine some little tips of the trade after I learned a thing or two. I worked in the film industry in the carp shop building sets, and ran an antiques conservation and restoring business for many years. I have made furniture and reproduced antiques of various kinds.

I worked in a modern furniture factory that was set up to manufacture office furniture in solid oak. I also produced a television series called No Room at the Dump about using the workshop to recycle discarded objects.

By inclination I am a recycler and modifier of tools, so here I will be talking about the rules, how to break them, and how to get excellent results most of the time, while having fun.

So let me lead off with a tiny bit about wood carving. I have a bunch of chisels, and mostly one merely pushes the very sharp chisel through the wood to make the shapes desired. Sometimes it takes a bit more than a good shove.

Between smacking it with an eight pound sledge, or the palm of your hand, is a range of other options. Wood mallets of various dimensions, and woods, are usual. Claw hammers are not made for this kind of work, nor are ball peen and other mechanic's hammers.

But.

I made a striking mass for wood carving from a piece of bearing bronze about an inch and a half long, and two inch diameter.

It weighs roughly 800 grams, or a pound and a half.

It is small enough to hold in the fingertips and tap lightly but with authority.

I epoxied a piece of leather to one side to make it a softer strike for some instances. It is more comfortable in the hand when hitting harder to have the leather in your palm. It can strike with all three faces. The round one, the flat one and the leather one. It is a step up from cave man tools but essentially the same as a rock.

The bronze is worth about ten bucks, the leather a few cents, and a few more for the epoxy.

See the pretty picture? Click on it and see it enlarge. The striking mass is the round thingy with the brown leather top.

The carving just beginning, and I am using a large curved chisel to make the outline of the flag. It takes a big collection of chisels to be able to make a wide array of shapes with crisp clean edges. I have been collecting for forty years, and that big curved chisel is from the nineteenth century, with a handle added using a hose fitting as a ferrule some time probably in the twentieth century before I got it in an auction.